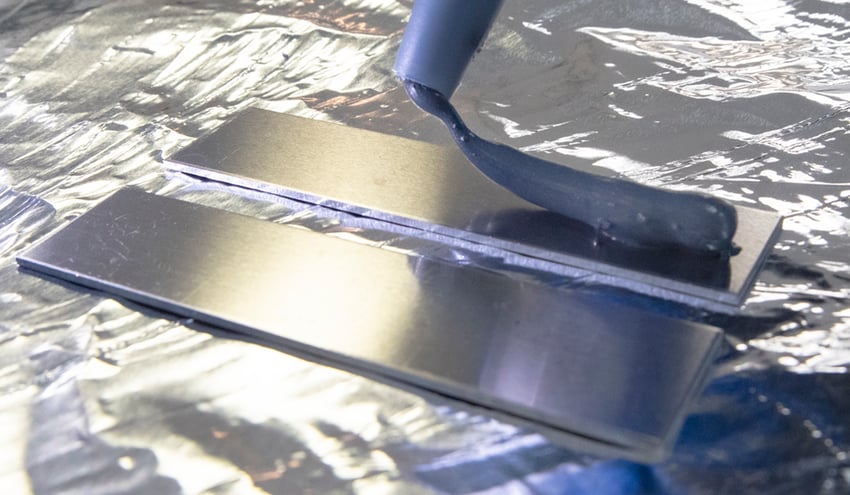
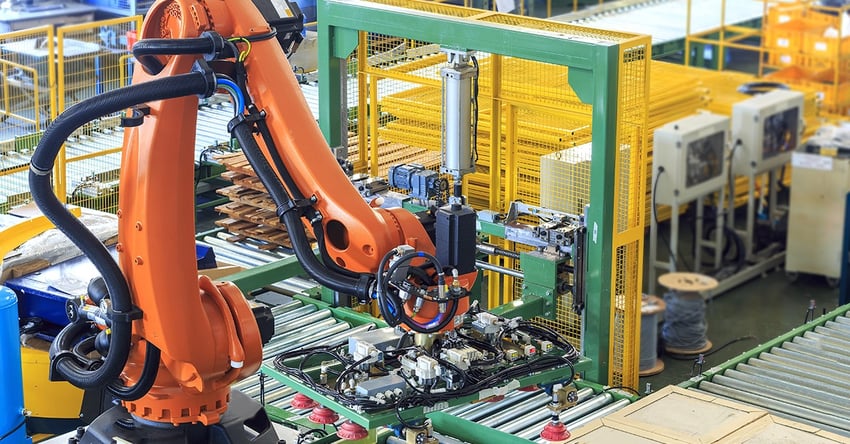
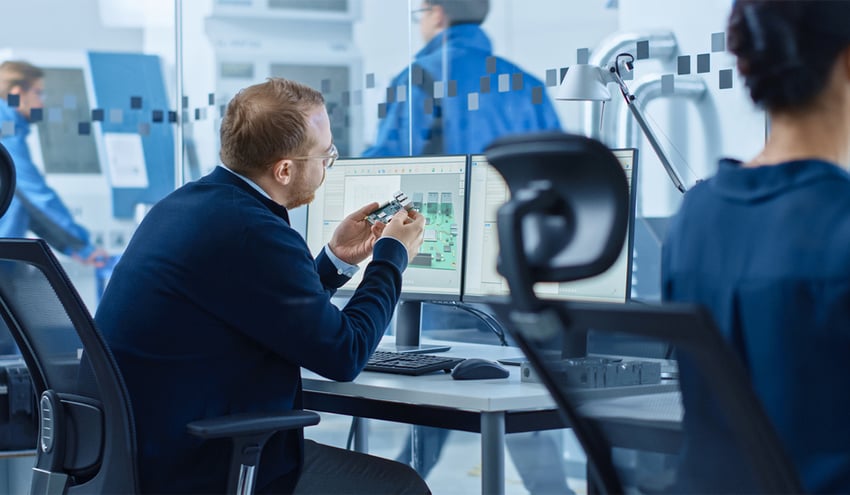
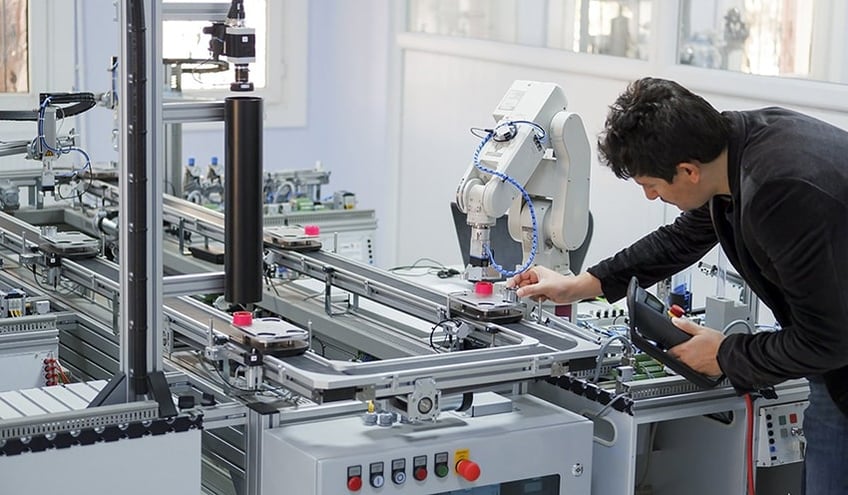
The relentless pursuit of safety underpins every aspect of aerospace manufacturing. However, two significant hurdles impede this goal: verification and non-destructive testing. Destructive testing, the traditional method for assessing bond strength, is impractical for composite materials – the lifeblood of modern aircraft. Manual verification, often employed in aircraft production lines, introduces human error and lacks objective data.
This vulnerability is especially critical for crucial processes like painting, bonding, sealing, and coating. These seemingly routine steps form the invisible foundation for a safe and functional aircraft. Moreover, unlike consumer products, every aerospace component requires an indisputable pedigree – a verifiable history of passing stringent tests. This heightened focus on quality stems from the immense stakes involved: a single lapse can have catastrophic consequences.
Understanding these challenges, the aerospace industry is leading the way with innovative solutions. This article explores how leading manufacturers of fighter jets, urban air taxis, and dirigibles are confronting these testing and verification hurdles, paving the way for a future with even safer skies.
The Microscopic Foundation of Macroscopic Safety
Our extensive experience within the aerospace industry reveals a startling truth: 90% of bond failures originate from inadequate control of surface quality or preparation. While organizations may define material selection and cleaning/activation procedures, verification of the achieved surface condition often goes unchecked. Through years of experience, we have learned that real-world production environments introduce numerous variables, such as environmental contamination and human error, that can significantly deviate from the controlled conditions used to develop specifications. Consequently, even seemingly minor contaminants, like hand lotion residue, can disrupt the critical adhesive-substrate interaction, jeopardizing the entire bonding system's performance and potentially leading to catastrophic failures.
Here's where the paradigm shift occurs. Measuring the first few molecular layers of a material surface becomes paramount. These microscopic interactions, invisible to the naked eye, dictate the success of the entire bonding process. Precisely measuring surface quality using water contact angle (WCA) measurements ensures that every surface interacting with an adhesive, paint, or coating performs as intended.
Traditional methods like visual inspection and water break testing lack the sensitivity to address these crucial intermolecular interactions. Destructive techniques like dyne testing compromise the structures they aim to evaluate.
A Four-Pronged Approach to Flawless Aircraft
Leading aerospace manufacturers have adopted a four-pronged approach to ensure surface quality throughout the entire aircraft lifecycle:
1. Specification Setting
During prototyping, WCA measurements guide the selection of materials and procedures that optimize adhesive bonding strength. These specifications then become the blueprint for production processes.
2. Real-Time Production Monitoring
During production, technicians leverage networked Brighton Science devices to measure the surface quality of components directly before assembly. This proactive approach, aligned with pre-defined specifications, allows for identifying and rectifying subtle issues that could compromise adhesion. These issues can stem from environmental factors or even seemingly insignificant human actions.
For example, variations in supplier packaging materials can introduce unexpected contaminants into components. Similarly, insufficient cleaning by a previous operator can leave behind residues that hinder optimal bonding. By proactively measuring surface quality, these issues are discovered before assembly, preventing potential problems downstream.
BConnect from Brighton Science is a networked platform that delivers real-time alerts for any deviations from the standardized testing process. This not only guarantees the integrity of the data collected but also empowers relevant personnel to make informed decisions based on the latest information. Furthermore, these in-production measurements serve as an invaluable resource for process improvement. Since real-world conditions can sometimes diverge from controlled laboratory settings, the data gleaned from the production floor plays a critical role in refining future procedures for optimal surface preparation.
3. Supply Chain Synergy
The aerospace industry relies on a complex network of suppliers who manufacture individual components assembled into a complete aircraft. To ensure components integrate seamlessly and perform optimally within the final aircraft, the final assembler establishes surface quality or cleanliness specifications for their suppliers. These specifications, communicated through water contact angle (WCA) measurements, define the level of cleanliness required for each component to function as intended within the final product.
By adhering to these surface quality specifications, component suppliers take ownership of their role in the manufacturing process. This ensures that the quality of their individual contributions aligns with the standards set by the final assembler. Furthermore, establishing clear and measurable quality expectations fosters stronger supplier relationships built on mutual accountability.
Surface quality specifications also benefit suppliers by providing a clear benchmark for accurate bidding. With a defined level of cleanliness required, suppliers can optimize their processes to deliver the right part at the most competitive price. Additionally, these specifications encourage collaboration within the supply chain, allowing each partner to leverage their expertise for the collective benefit of the final product.
Perhaps most importantly, surface quality specifications facilitate a robust auditing process. When both the supplier and final assembler utilize the same specifications, the data collected becomes a valuable tool for assessing overall supply chain performance. This shared accountability ensures that every component meets the necessary standards, contributing to the safety and reliability of the final aircraft.
4. Surface Quality in Aircraft Maintenance
The increasing use of bonding solutions to replace mechanical fasteners in aircraft repairs presents a new challenge: ensuring proper surface quality in field maintenance environments. Unlike hangar settings, field maintenance requires tools that are flexible, portable, user-friendly, and highly sensitive to even subtle changes in surface quality.
Brighton's networked solution addresses this challenge by facilitating the tracking and tracing of aircraft maintenance and repair operations (MRO). Water contact angle (WCA) measurements, which form the basis for surface quality specifications, are associated with specific aircraft components, articles, or areas on the component. This meticulous data collection verifies proper maintenance procedures, ensuring every aircraft meets the highest standards before taking flight. The comprehensive data trail created by this system empowers personnel to confirm the quality of maintenance performed on any aircraft throughout its service life.
Beyond Aerospace: A Universal Principle
The principles and technologies explored within the aerospace industry hold wider significance. While this article has focused on aircraft manufacturing, the importance of surface quality extends to a vast array of applications. From ensuring the secure bonding of vehicle engines to applying critical coatings on oil rigs in harsh environments, controlling surface quality empowers manufacturers across all industries to definitively confirm surface readiness for optimal performance.
The aerospace industry's relentless pursuit of safety has driven them to become pioneers in the field of surface quality control, and Brighton Science is proud to partner with these leaders in their unwavering pursuit of excellence.
To learn how to leverage contact angle measurements to track and trace surface quality throughout a product's lifecycle, download the eBook - The Advanced Guide to Transforming Product Development Through Surface Intelligence Data & Technology.


