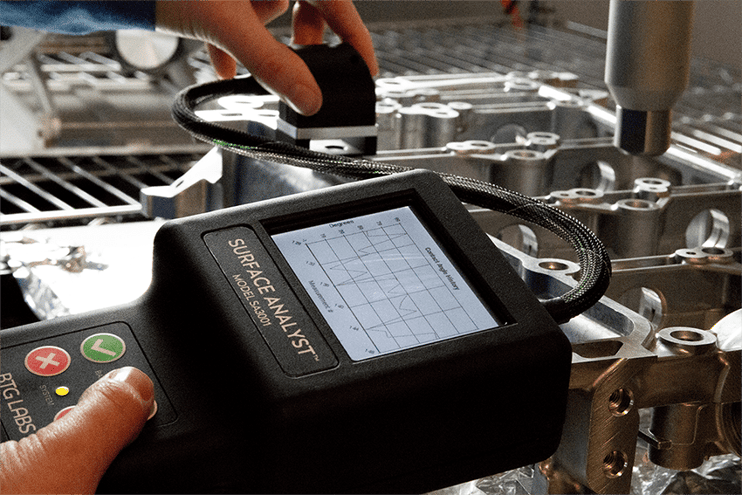
Key Takeways
- The water break test is a simple, traditional method for assessing surface cleanliness, but it is subjective and limited in precision.
- It only detects hydrophobic contaminants and cannot quantify surface energy or detect hydrophilic residues such as surfactants.
- Because results are visual and unrecorded, the test does not support traceable, data-driven process control.
- Modern manufacturing environments require quantitative surface analytics that integrate directly into digital quality systems.
- The BConnect™ platform provides real-time water contact angle measurement data and surface intelligence for consistent, validated adhesion processes.
Understanding the Water Break Test
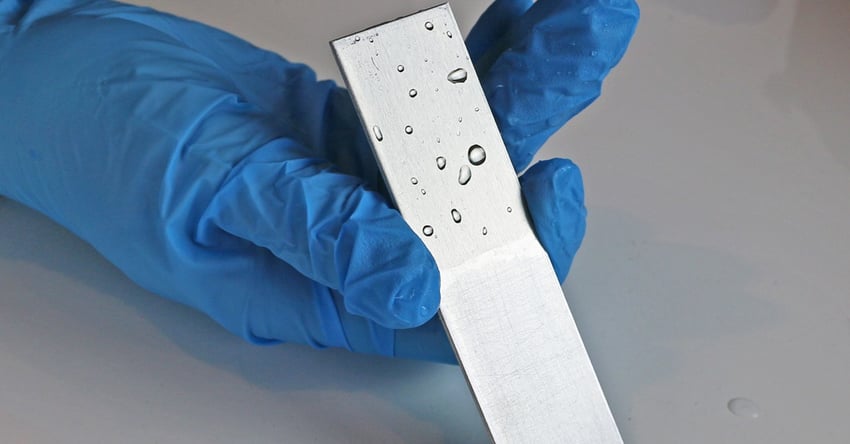
The water break test has been used for decades as a quick, low-cost method to determine whether a surface is clean enough for bonding, coating, or painting. The principle is straightforward: clean surfaces have high surface energy, which allows water to spread out evenly. Contaminated or low-energy surfaces cause water to bead or break apart.
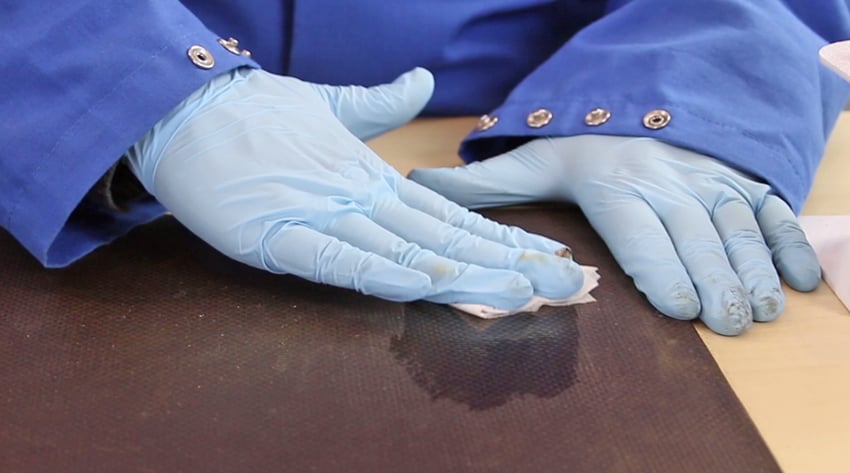
Following the ASTM F22 procedure, technicians dip or spray water onto a material surface, then visually assess how the water behaves. A continuous, unbroken film of water indicates a clean, high-energy surface, while beading or irregular flow suggests contamination.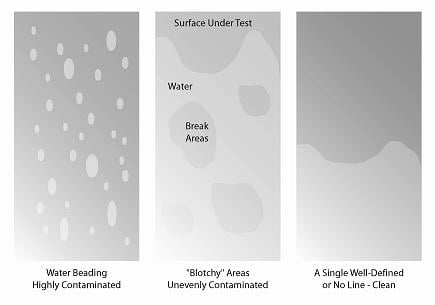
Because it requires no chemicals or equipment, the water break test remains a familiar option in many facilities. It is commonly applied to metal surfaces after cleaning, etching, anodizing, coating, or sanding. However, its reliance on subjective interpretation and inconsistent environmental conditions makes it increasingly unsuitable for precision manufacturing.
Understanding the Water Break Test
While the water break test has served manufacturers for decades, modern production environments demand greater precision, traceability, and repeatability. What was once an adequate visual check is no longer sufficient for today’s data-driven quality expectations.
Subjectivity and Inconsistency
The water break test depends entirely on the technician’s visual judgment. Without quantitative criteria, interpretations vary widely between individuals, production lines, and suppliers. Even under identical conditions, two operators may record different results. This inconsistency prevents reliable process validation and undermines the traceability that advanced manufacturing systems demand.
Limited Sensitivity
The method is inherently restricted to detecting hydrophobic contaminants like oils and greases. It cannot identify hydrophilic substances, such as surfactants or cleaning agent residues, which can still interfere with adhesion performance. As a result, a surface may appear clean during a water break test but fail during bonding or coating due to invisible molecular contamination.
Potential for Contamination
Ironically, the water break test can contaminate the very surface it is meant to validate. If the test water is not purified, minerals, organics, or particulates can deposit on the part. Drying or wiping the part afterward can introduce new contaminants or alter surface chemistry, further compromising the integrity of subsequent process steps.
Absence of Quantitative Data
In today’s Industry 4.0 environment, quality control depends on real-time, traceable data that enables process understanding and continuous improvement. The water break test yields only a visual “pass” or “fail” observation, offering no measurable data for analysis.
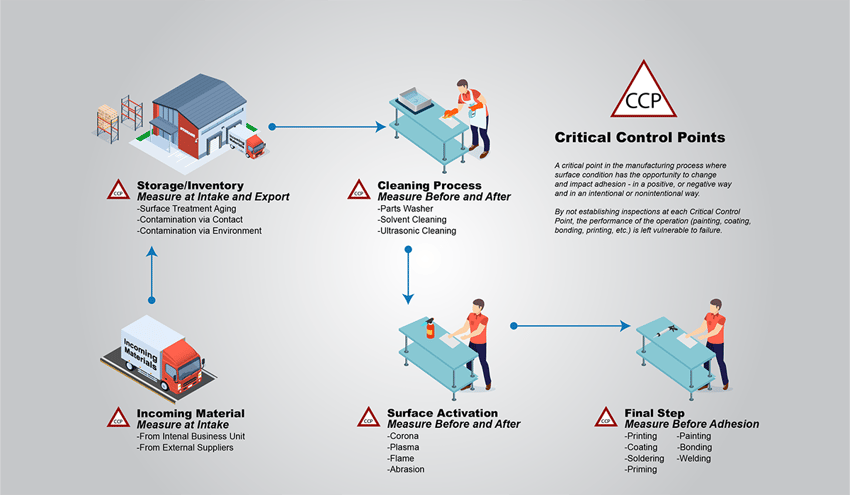
This lack of quantification makes it impossible to identify Critical Control Points (CCPs), moments in production where the surface condition can change due to handling, cleaning, or environmental exposure. Without numerical data, manufacturers cannot establish stable, repeatable adhesion processes or confidently troubleshoot failures.
Incompatibility with Advanced Materials
The test’s design is suited to flat metallic parts, not to modern components made of composites, engineered polymers, or textured surfaces. Complex geometries, micro-structured coatings, and mixed-material assemblies all limit the test’s effectiveness. As production technology advances, the simplicity that once made the water break test attractive now makes it obsolete.
A Data- Driven Alternative: Measuring Water Contact Angle in BConnect
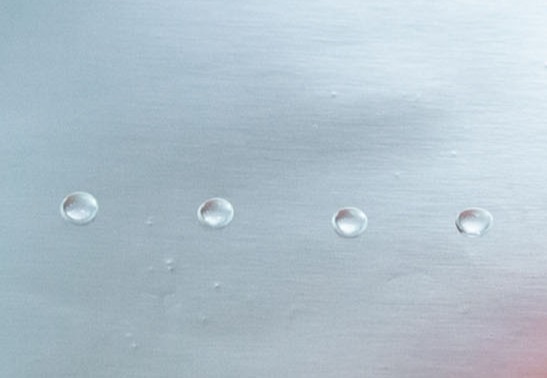
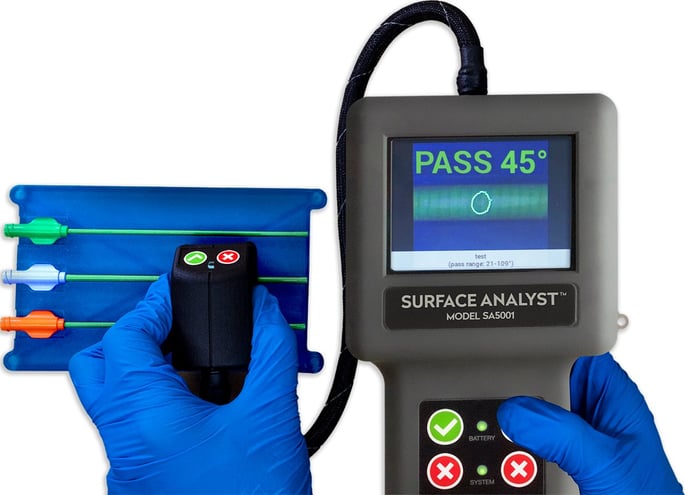
Manufacturers seeking precision, repeatability, and process insight are turning toward quantitative surface analytics based on water contact angle measurement (WCA). This technique evaluates how a precise droplet of water interacts with a surface at the molecular level, providing a direct, measurable indicator of surface energy and adhesion readiness.
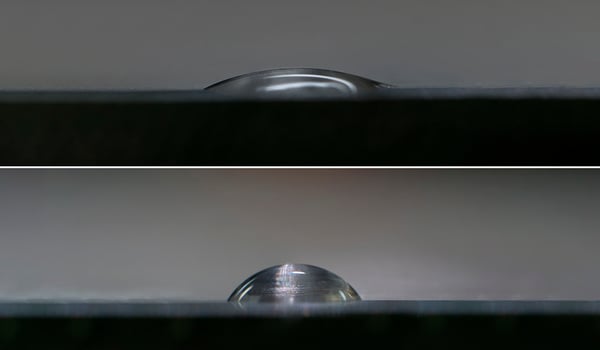
The BConnect platform transforms this data into actionable Surface Intelligence. By capturing water contact angle measurements directly from the production environment, BConnect links surface condition data with other process variables, such as cleaning parameters, handling steps, and environmental exposure, to deliver a full picture of surface quality control.
Advantages of Contact Angle Measurement within BConnect
- Quantitative precision: Produces real numerical values that correlate directly with surface cleanliness and adhesion performance.
- Repeatability and traceability: Standardized measurements eliminate operator subjectivity and allow results to be stored, trended, and audited.
- Non-destructive analysis: Each test uses a microscopic droplet of purified water that evaporates harmlessly, leaving the surface unchanged.
- Inline process integration: Contact angle data can be captured on parts of any size, geometry, or material without disrupting production flow.
- Data connectivity: Through BConnect, measurement data is instantly available for process engineers, quality teams, and suppliers, enabling closed-loop control and continuous improvement.
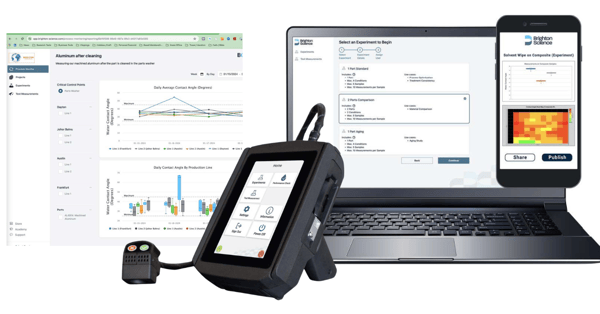
With BConnect, surface measurement becomes a living data stream rather than a one-time visual inspection. Instead of relying on human observation, teams gain the ability to quantify cleanliness, compare results across sites, and link surface readiness directly to production outcomes.
Rethinking Surface Validation in the Digital Era
As materials and manufacturing processes grow more advanced, subjective tests like the water break method no longer provide the confidence or control that high-performance industries require. Data-driven measurement technologies like BConnect enable manufacturers to manage surface quality proactively, not reactively.
By integrating water contact angle measurement into a unified data ecosystem, organizations can validate cleaning steps, detect contamination events, and ensure every surface entering a bonding or coating operation meets precise adhesion criteria.
The water break test served its purpose in an earlier manufacturing era. Today, manufacturers require more than a visual judgment. They need measurable, traceable Surface Intelligence. By leveraging contact angle measurement within the BConnect platform, organizations gain the data precision and control required to meet the demands of modern production.
Still using water break tests in your processes? Learn how your organization can evolve from subjective testing to data-driven surface control with the Surface Intelligence Maturity Model.
Q&A: The Water Break Test and Modern Surface Measurement
Q: Why is the water break test still used if it’s unreliable?
Many facilities continue using it because it’s quick, inexpensive, and familiar. However, it lacks the precision and repeatability needed for complex materials and modern quality systems.
Q: What is a better alternative to the water break test?
Quantitative water contact angle measurement provides an objective, data-driven assessment of surface energy and cleanliness. When integrated into BConnect, it delivers traceable insights across the entire manufacturing process.
Q: Can contact angle measurement detect contamination invisible to the water break test?
Yes. Contact angle measurements are sensitive to the top 2–3 molecular layers of a surface, allowing detection of both hydrophobic and hydrophilic contaminants that affect adhesion.
Q: How does BConnect improve process control?
BConnect collects and contextualizes surface data from multiple sources, providing real-time visibility into process performance, contamination trends, and quality outcomes. This enables predictive quality control and reduces the risk of adhesion failures.










.jpg?width=850&height=495&name=metal-brazing-copper-component%20(reduced).jpg)
