In manufacturing, it is extremely difficult to eliminate all inefficiencies and production deficits. It is not uncommon for setbacks to occur in the form of scrap and rework due to product failure before the product is shipped to the market or recalls and returns after the product has already been released. However, accepting the current level of setbacks is not necessary.
This becomes extremely important when a previously acceptable level of scrap or rework needs to be brought down to a lower level. This can be terrifying to manufacturers because if the reasons a 3% scrap rate is occurring aren’t clear, how can they hope to reduce that to 2% or even reduce it at all?
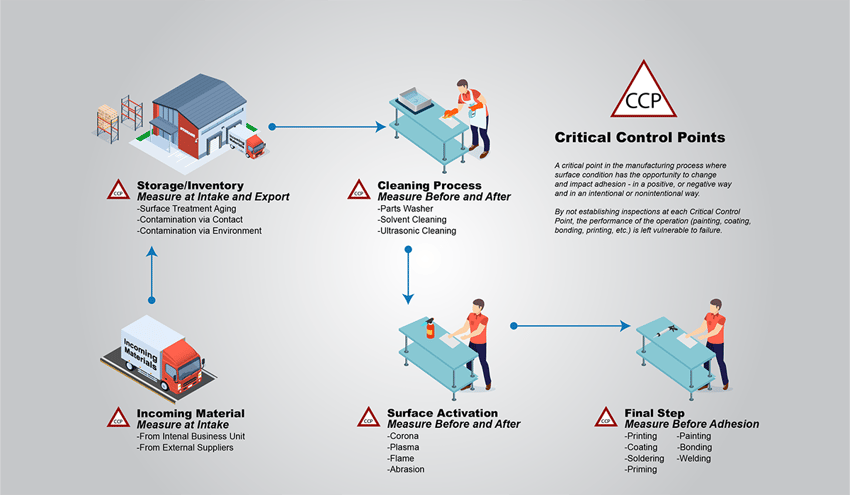
To minimize scrap, manufacturers must first understand what is causing adhesion failure.
Characterize the Contamination
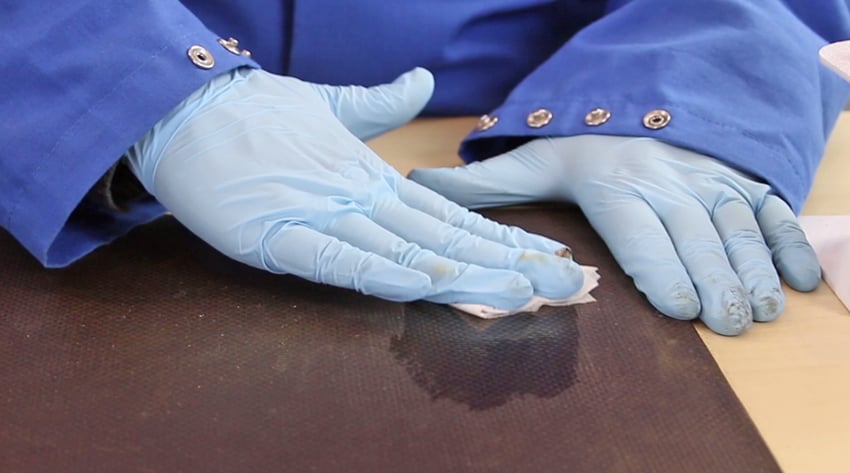
Historically, cleaning material surfaces has emphasized large particulate removal. Making sure the bond surface is debris-free is a very important aspect of getting the surface to a desirable state for adhesion, but the work cannot end there.
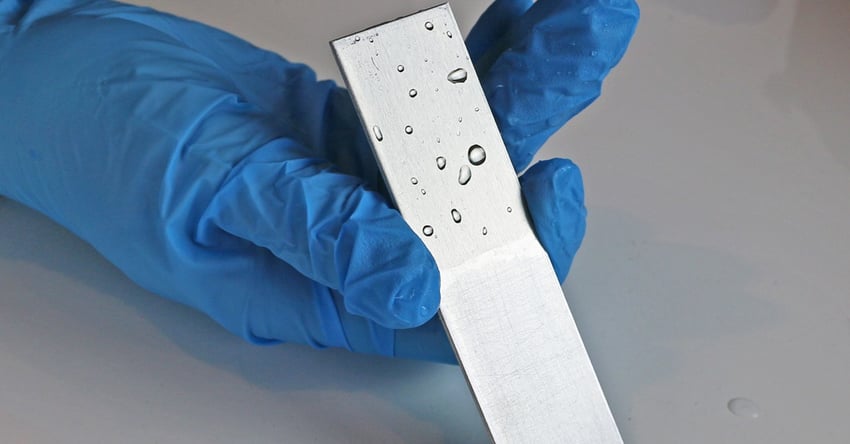
Cleaning and treatment processes that are only characterized by the removal of particulate do not give a full picture of the requirements for adhesion. A surface must be free of chemical contamination because adhesion is a function of molecules interacting at the top few microscopic surface layers with a coating, adhesive, or another substrate. If the surfaces are not chemically compatible, then no amount of particulate removal will prevent adhesion failures. The scrap rate will be unaffected.
When chemical contamination remains on a surface (which just means the surface has the wrong chemical makeup for the application), often what is being bonded to is this layer of contamination and not the chemically bondable surface underneath. This essentially guarantees that adhesion failure will result.
Legacy tests (e.g., Millipore test, ROSE test, etc.) have been used in manufacturing to help define the amount of particulate removed. However, these tests are ineffective at offering useful information about a surface's cleanliness because they are not sensitive to the surface's chemical nature. Often, these tests can indicate that the surface is particulate-free, but adhesion failures continue nonetheless.
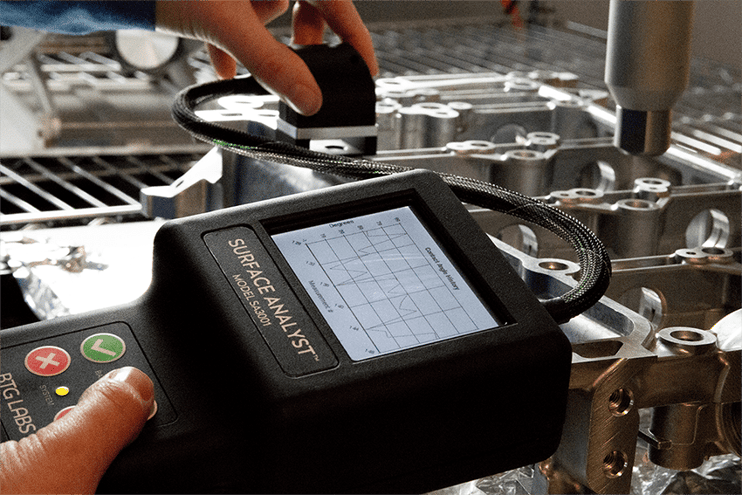
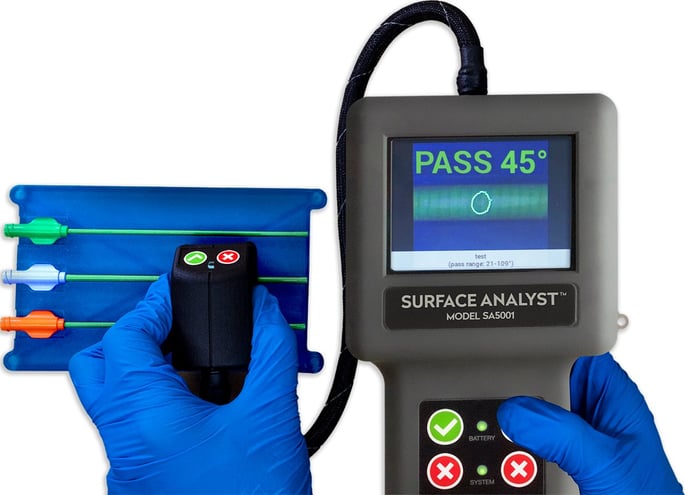
What is needed is a way of quantifying a surface's chemical readiness for adhesion. Redefining the surface quality as its chemically ideal state and measuring it as the surface moves throughout the adhesion process creates a highly controlled and manageable system for creating adhesion-ready surfaces.
Non-Destructive Testing
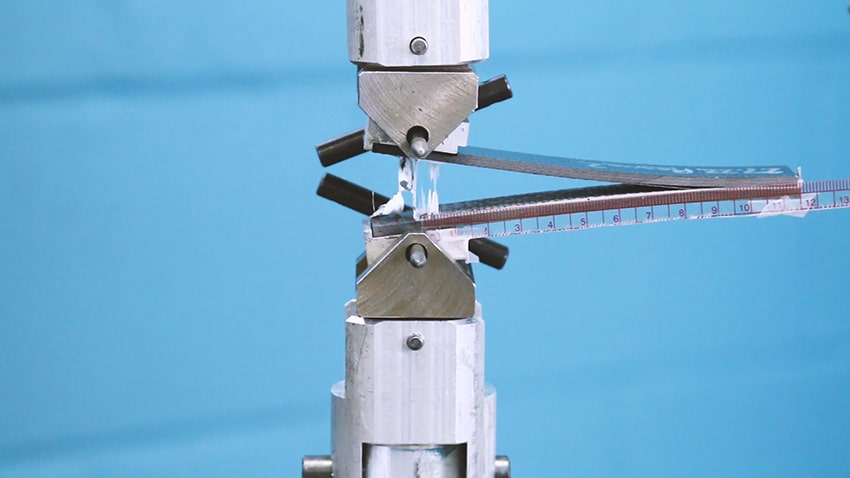
A good amount of scrap comes from conducting tests that require the samples to be disposed of after the testing. This is problematic for a number of reasons.
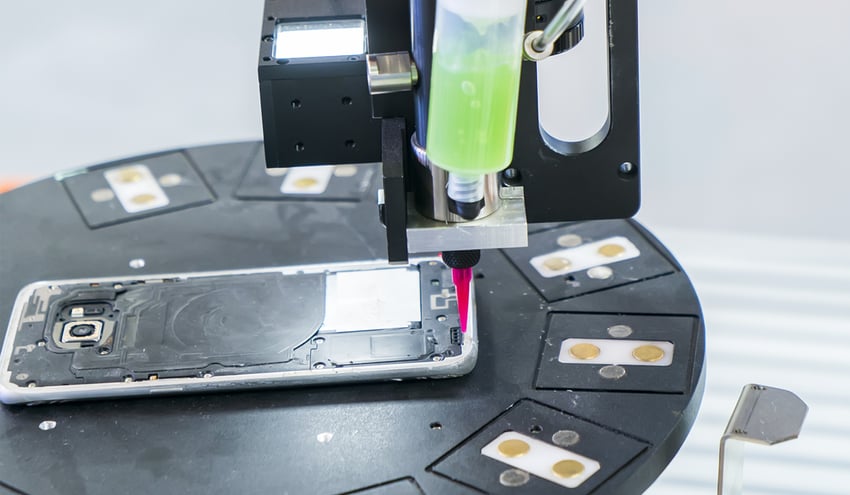
If the tests (such as dyne ink evaluations, water break tests, and others) can’t be done on the actual parts that will undergo the adhesion process, they can only tell you so much about the readiness of the parts that will be bonded, coated, sealed, or otherwise adhered.
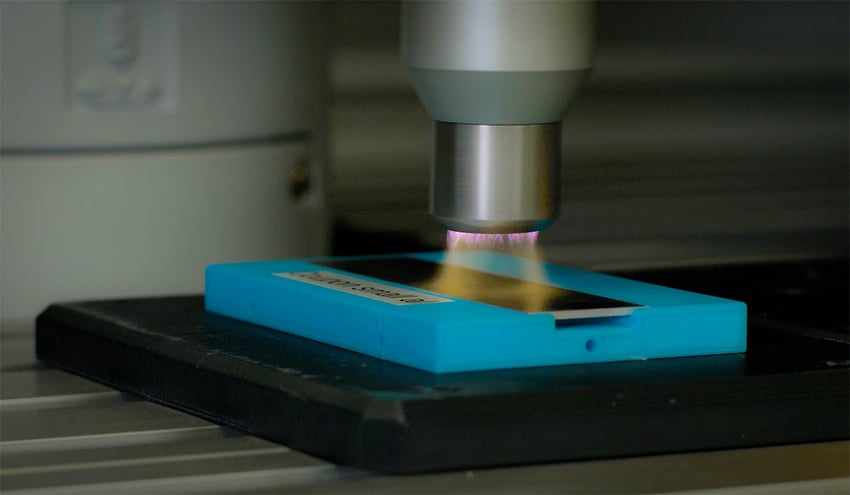
A truly useful test of surface quality is one that is quantitative, can be done directly on the production line on the parts being cleaned and treated, and is non-destructive to the surfaces so an accurate evaluation can be done.
When the inspections are done directly on the line, then more tests can be conducted, allowing for the probability of failure to be drastically reduced. The sample set will be more emblematic of the bonded parts and give a more true picture of the chemical state of the surfaces.
So, non-destructive tests reduce scrap in two main ways:
- Scrap isn’t created because samples aren’t being destroyed, and
- The adhesion process is more closely monitored directly at the points where contamination occurs, making anomalous changes more easily identifiable.
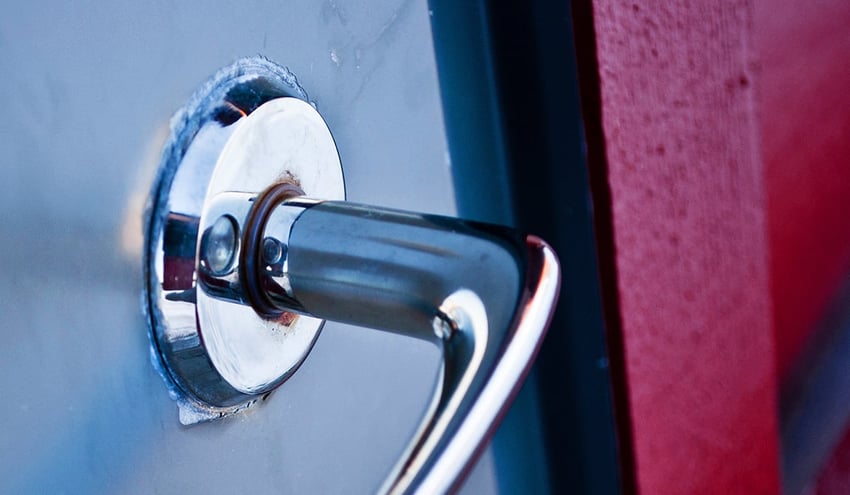
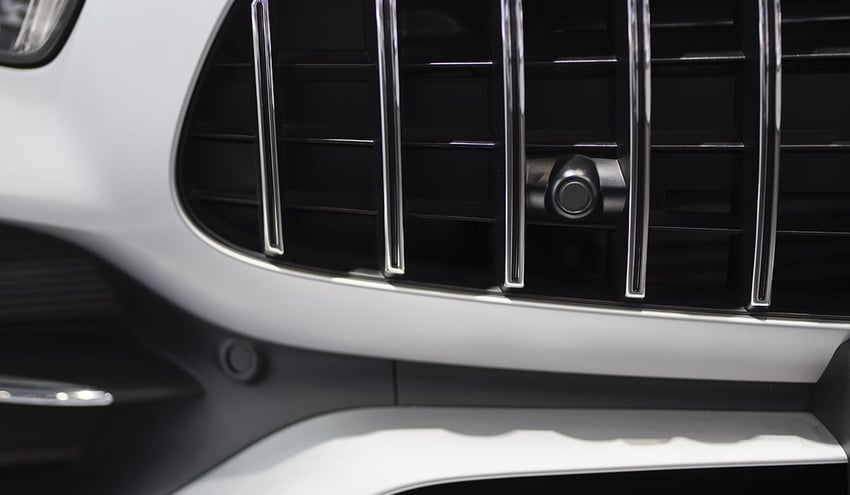
Double Check Difficult-to-Clean Surfaces
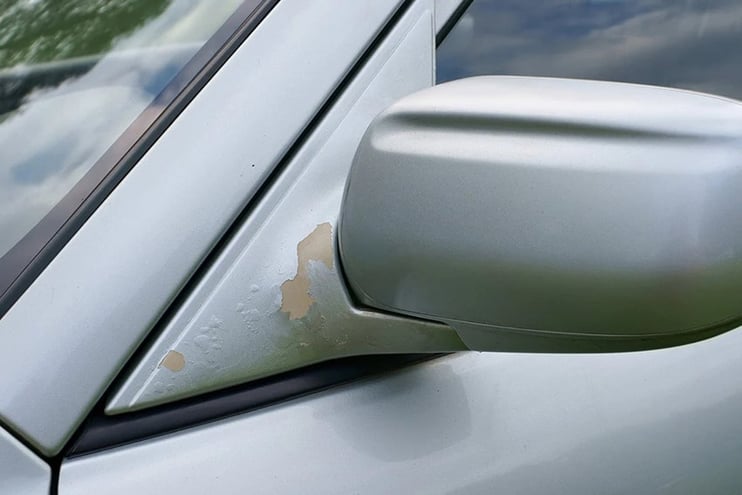
Closely examining a surface after an adhesion failure has occurred can tell you so much about why it happened. One thing to look for is consistency in where the failures are occurring. You’ll often find failures in small corners, shallow channels where the adhesive is applied, sharp edges, and unusual geometries. These are conventionally difficult to clean properly and must be looked at closely and fully evaluated to ensure they are chemically consistent with the rest of the surface.
The non-destructive test used on the line needs to map out the entirety of the material surface so that consistency can be achieved. If one part of a surface is getting cleaned and treated and another part isn’t, then it needs to be understood why that’s happening. It could be due to an inconsistent wash process because of the placement of the components inside the racks, something being deposited on the surface during another stage in the adhesion process, or even just using an inappropriate method of cleaning or treatment for the geometry of the surface.
Awareness of all types of contamination is critical to mitigating adhesion failure. They all need to be identified, monitored, and controlled. The methods of identifying, monitoring, and controlling this contamination need to be non-destructive so that more needless scrap isn’t created. Lastly, every step of the adhesion process needs to be optimized so that the surfaces are consistent and totally ready for the adhesion application.
For more information on getting to the source of adhesion issues and controlling your adhesion process, download the “The Future of Manufacturing: A Guide to Intelligent Adhesive Bonding Technologies & Methodologies" eBook.


.jpg?width=850&height=495&name=metal-brazing-copper-component%20(reduced).jpg)